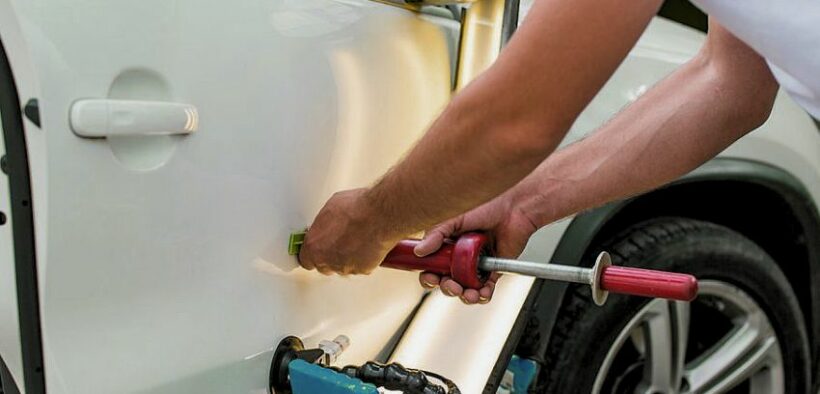
Revive Your Car’s Beauty: DIY Dent Repair Essentials

We all know the feeling – you walk up to your car, only to discover an unsightly dent marring its beautiful surface. Your heart sinks, and you think about the expense and hassle of getting it repaired. But what if we told you that you could fix that dent yourself and save a considerable amount of money? Well, it’s possible, and we’re here to guide you through the process.
Before we dive into the step-by-step guide, it’s essential to gather the tools and materials required for this DIY dent repair project. You’ll need tools like an angle grinder, corded drill, dust mask, extension cord, hearing protection, safety glasses, and a sanding block. For materials, make sure to have body filler, finishing glaze, latex gloves, sandpaper, tack cloth, and wax remover on hand. With these items in your arsenal, you’re ready to embark on the journey of making that car dent a distant memory!
Now, let’s get started on making your car dent a thing of the past!
Prep and Clean Before Filling
Begin by thoroughly washing and drying your car. Cleaning the area around the dent is essential for proper adhesion of the filler.
Remove the Paint
Using 24-grit sandpaper, carefully remove the paint inside and around the dent. This step helps create a clean surface for the filler. Next, switch to 80-grit sandpaper and hand-sand the entire dent. Make sure to feather the paint around the edges of the dent. After sanding, clean the entire area with wax remover and a clean rag. Finish up by wiping it with a tack cloth to ensure no debris remains.
Mix the Filler
Now it’s time to prepare the filler. Spread the filler down the mixing board in an S-shaped curve, then scoop it up and fold it over. Repeat this process until the filler has a consistent color. Make sure not to mix body filler on a scrap piece of cardboard; instead, use a mixing board or an old, clean cookie sheet that you can discard later.
Apply a “Tight” First Coat
Scoop up some filler and press it firmly into the rough metal surface. Spread the filler evenly to create a “tight” coat. This step helps remove air from any scratches and ensures the filler adheres to the bare metal.
Add More Filler
Apply a thicker “fill coat” layer of filler to fill the dent, creating a smooth and even surface.
Sand to Shape and Glaze
Using 80- and 180-grit sandpaper, carefully sand the filler to match the contours of your car’s body. Feather the edges of the filler right up to the painted edge for a seamless finish. Apply to finish glaze to the entire patch, and then sand with 180-grit and 320-grit sandpaper for a flawless surface.
To complete the repair, spray the patch with primer and then apply matching paint. For a long-lasting finish, consider using DIY car paint sealant to keep the patch looking fresh and protect it from the elements.
In just an afternoon, you can make that annoying car dent disappear, saving a significant amount compared to body shop prices. Remember, while the repair may not look entirely professional, it won’t stand out like a sore thumb either. With a little effort and the right materials, you can restore your car’s appearance and keep it looking fantastic on Indian roads.
So, if you ever find yourself facing a car dent, don’t fret. Instead, follow these steps and make your car look as good as new!


